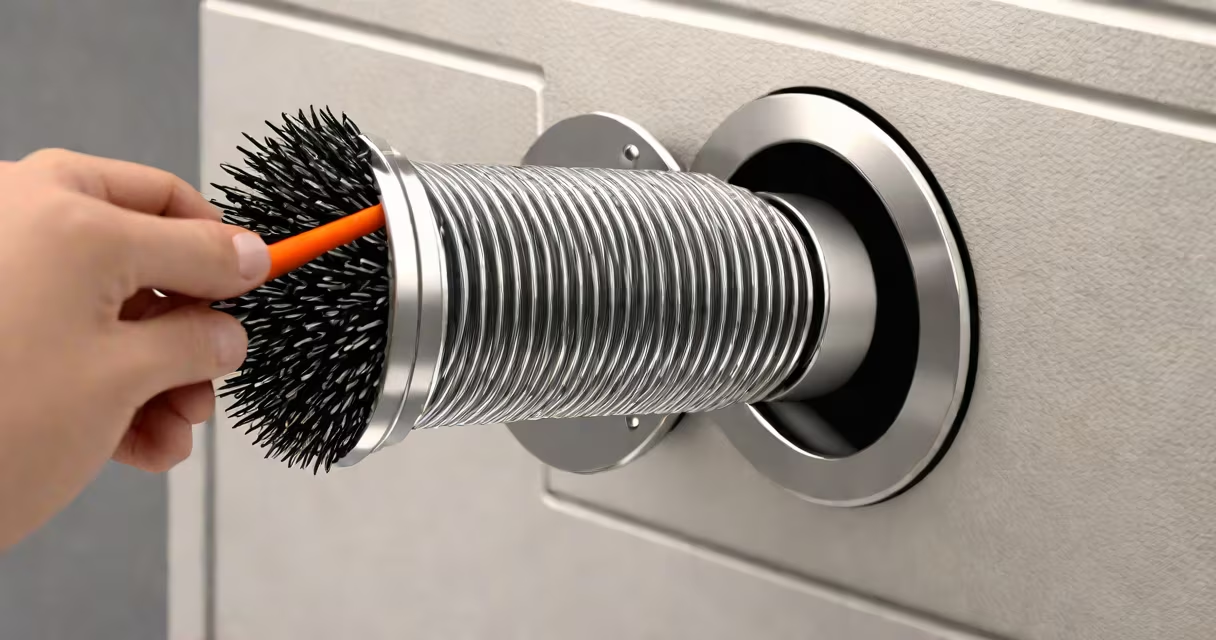
Cleaning a dryer vent removes accumulated lint and debris that restrict airflow, reduce drying efficiency, and increase fire risk. This process improves energy use, shortens drying times, and prevents overheating.
Dryer vents carry hot, moist air from the dryer to the exterior of a home. Over time, lint-fibers shed from clothing-builds up along the duct's interior. This buildup reduces airflow, forces the dryer to run longer, and raises the temperature inside the drum and exhaust system. According to the U.S. Fire Administration, lint-clogged dryers cause nearly 15,000 home fires annually, resulting in hundreds of injuries and millions in property damage.
Regular cleaning prevents these issues. The National Fire Protection Association (NFPA) recommends inspecting and cleaning dryer vents at least once a year. Homes with high laundry volume or long duct runs may need cleaning twice yearly.
When a dryer operates, warm air exits through the vent hose, carrying moisture and tiny fibers. Most lint collects near bends, joints, and the outdoor termination cap. As lint accumulates, it blocks airflow. Reduced airflow causes the dryer to overheat, increasing the risk of ignition if flammable materials contact hot surfaces.
Manual cleaning uses specialized tools to dislodge and extract lint from the duct. The process begins at the dryer's rear outlet and proceeds toward the exterior vent. A flexible brush attached to a rod is pushed through the duct while a vacuum or handheld tool collects loose debris. The goal is to remove all visible lint and ensure the duct interior remains smooth and unobstructed.
After brushing, the exterior vent cap is removed and cleaned. Lint often collects behind the cap or in the flapper mechanism. Reinstalling the cap ensures proper airflow and prevents backdrafts during storms.
Effective cleaning requires specific tools designed for vent access. Standard household items like brooms or screwdrivers are ineffective and can damage the duct.
| Tool | Purpose | Recommended Size |
|---|---|---|
| 12-inch flexible dryer vent brush | Scrapes lint from inside the duct | 1.5 inches diameter for standard 4-inch ducts |
| 12-inch extension rod | Attaches to brush for reach | Standard metal or plastic rod |
| Shop vac with hose adapter | Suctions loose lint during brushing | At least 100 CFM suction power |
| Flashlight | Illuminates interior of duct | LED headlamp preferred |
| Stiff-bristled cleaning brush | Removes stubborn lint behind vent cap | Small, hand-held size |
Use only rigid metal or flexible aluminum ducts. Plastic flex ducts degrade faster and are more prone to collapse. The NFPA warns against using plastic or foil ducts due to their lower fire resistance.
Begin by unplugging the dryer and moving it away from the wall. Disconnect the vent hose from the dryer's rear outlet. Place a towel under the connection point to catch falling debris.
Insert the brush into the dryer's vent opening. Push the brush forward while rotating it slightly to scrape lint off the inner walls. For each 12-inch section, push the brush in, rotate 180 degrees, and pull out. Repeat until all lint is removed. Use the extension rod to reach deeper sections.
Attach the shop vac hose to the brush handle or place the vacuum nozzle at the duct's far end. Turn on the vacuum and continue brushing. The vacuum pulls loose lint out of the duct as you work. This method captures more debris than brushing alone.
Remove the exterior vent cap. Clean the flapper and housing with the stiff brush. Wipe the area with a damp cloth to remove dust. Reattach the cap securely. Check for gaps or warping that could allow rain or pests to enter.
Reconnect the vent hose to the dryer. Ensure the connection is tight but not over-tightened. Test the dryer with a load of towels. Confirm the vent flap opens and closes properly and that heat exits smoothly.
Many homeowners assume cleaning the dryer's lint trap is enough. The trap catches large clumps but cannot reach lint trapped in the duct. The NFPA reports that 85% of dryer-related fires originate in the vent system, not the drum.
Another error is using a vacuum without a filter. Without a HEPA filter, fine lint particles escape back into the air. These particles can settle on surfaces or be inhaled. Always use a vacuum with a sealed system or attach a filter bag.
Some believe that cleaning the exterior vent is sufficient. However, most lint builds up inside the duct, especially in horizontal runs or areas with bends. A visual inspection of the duct interior is necessary to confirm cleanliness.
A non-obvious fact: lint buildup can reduce airflow by up to 60%. A study by the Consumer Product Safety Commission found that clogged vents increase drying time by 30% and raise energy consumption by 20%. This translates to higher utility bills and shorter appliance lifespan.
DIY cleaning works for most homes with short, straight ducts. If the vent runs through multiple walls, includes sharp turns, or extends beyond 25 feet, professional assistance is recommended. Long or complex routes make manual brushing difficult and increase the risk of damaging the duct.
Professional cleaners use motorized brushes and cameras to inspect the duct interior. They can detect hidden blockages, sagging sections, or rodent nests. The EPA notes that 1 in 7 homes have pest infestations in vent systems, which can lead to structural damage and health risks.
During my last home inspection, I found a raccoon nest inside a 20-foot vent run. The animal had chewed through insulation and blocked the duct. Removing it required a licensed technician with specialized tools. This experience reinforced that not all vent issues are visible from the outside.
Establish a routine to avoid recurring buildup. Clean the vent after every 100 loads or at least once per year. Homes with daily laundry use should clean every six months.
Always clean the lint trap after every cycle. While this doesn't replace vent cleaning, it reduces the amount of lint entering the duct. Use only lint-free dryer sheets to minimize residue.
Inspect the vent cap monthly during winter. Snow or ice can block airflow and cause moisture to back up into the dryer. Clear debris before turning on the dryer.
For ongoing safety, install a dryer vent sensor. These devices monitor airflow and alert users when blockage occurs. Models like the Nest Protect integrate with smart home systems and send notifications via app.
After cleaning, verify results by checking airflow. Hold a piece of tissue paper near the exterior vent. If it moves, airflow is restored. If not, further cleaning or professional help is needed.