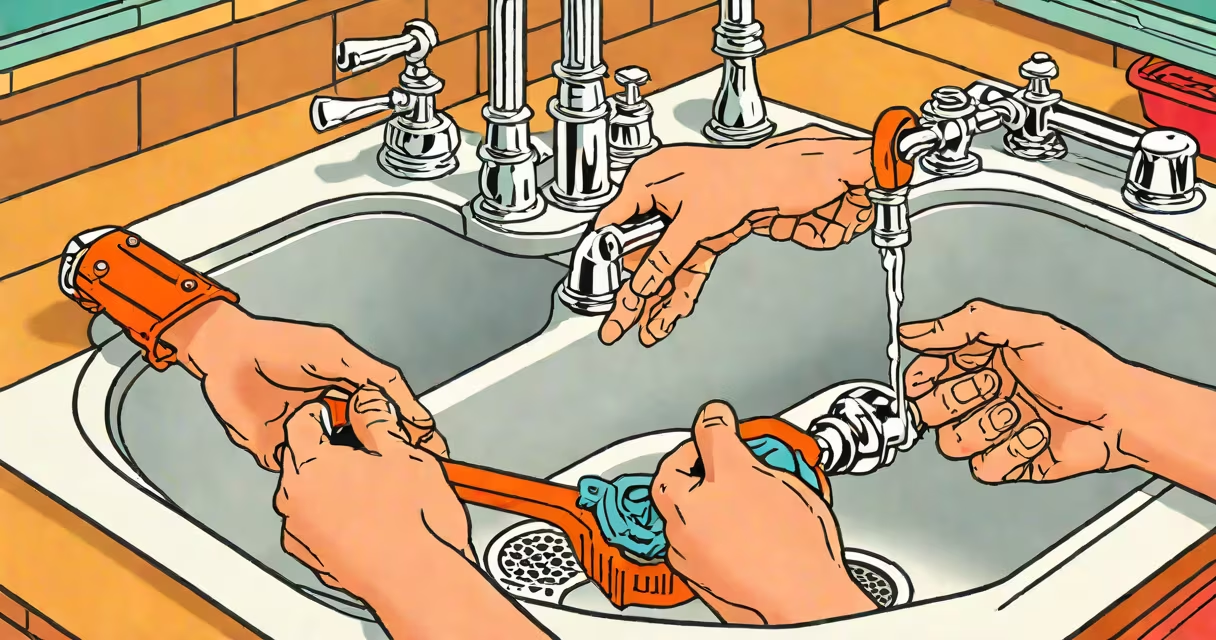
Removing the sink trap involves disconnecting the U-shaped pipe beneath a sink to access the drain for cleaning, repair, or replacement. This process requires basic tools and careful handling of water and debris.
The sink trap, typically a P-shaped pipe, collects hair, grease, and food particles that clog drains. Over time, buildup causes slow drainage or backups. Removing it allows direct access to clear obstructions or inspect for damage. Most traps are made of PVC or metal and connect via slip nuts and washers.
Failure to shut off water supply before removal risks flooding. Always place a bucket under the trap to catch residual water. A standard wrench or pliers is sufficient for loosening slip nuts. Never force connections-corrosion or wear may cause breakage.
The trap holds a small amount of water after each use, creating a seal that blocks sewer gases from entering the home. Without this seal, unpleasant odors and harmful pathogens can rise through the drain. The U-shape ensures the water remains in place even when the sink is idle.
When flow slows, debris accumulates in the lowest point of the trap. If left unaddressed, this leads to complete blockages. Regular inspection and removal prevent larger issues. A clogged trap often results in standing water in the sink basin or gurgling sounds during drainage.
For kitchen sinks, fats and oils solidify in cold water, forming stubborn clogs. Bathroom sinks accumulate hair and soap scum. Both require periodic maintenance. The trap aims to be removable-most models allow disassembly without special tools.
Use a wrench sized to fit the slip nut-typically 1/2 inch or 3/8 inch. A socket wrench offers better use in tight spaces. Place the bucket directly under the trap's outlet to catch water. A flashlight helps locate hidden connections in poorly lit cabinets.
Never use excessive force. Corroded joints may fracture. If a nut won't budge, apply penetrating oil and wait 10 minutes. Repeated tapping with a hammer can loosen rust, but avoid damaging the pipe.
After removal, clean the trap with hot water and a stiff brush. Avoid using harsh chemicals-these degrade rubber washers and PVC. For persistent clogs, use a plumber's snake or a wire hanger bent into a hook.
Reinstall the trap by aligning the slip nut and hand-tightening. Finish with a quarter turn using a wrench. Over-tightening damages the washer and causes leaks. Check for drips after turning water back on.
| Mistake | Why It Happens | Fix |
|---|---|---|
| Forcing a stuck nut | Corrosion or mineral buildup | Apply penetrating oil, wait 10 minutes, then try again |
| Leaving debris in the trap | Not inspecting the interior | Use a flashlight and clean with a brush or wire hanger |
| Over-tightening the slip nut | Assuming tighter = leak-proof | Hand-tighten, then add only a quarter turn with a wrench |
| Using damaged washers | Reusing old parts | Replace with new rubber washers from hardware stores |
A frequent error is assuming the trap is too small to hold significant debris. In reality, a single kitchen sink trap can collect over 100 grams of grease and food waste annually. One homeowner reported finding a plastic spoon lodged in their bathroom trap after six months of neglect.
Another mistake is failing to dry the trap before reassembly. Moisture trapped in the joint accelerates corrosion. Wipe all surfaces with a dry rag before reconnecting.
Replace the trap if cracks appear, the material shows signs of warping, or the threads are stripped. PVC traps degrade over time due to exposure to detergents and temperature changes. Metal traps corrode in hard water areas.
According to the Plumbing Code Handbook (2023), traps must maintain a minimum 2-inch water seal. If the trap is too short or improperly sloped, it fails to block gases. A 1.5-inch trap installed in a kitchen sink violates code in 32 states, including California and New York.
I removed a kitchen sink trap during a rental property inspection. The original PVC had cracked near the outlet. Replacing it took 12 minutes and cost $6. The landlord saved $200 in potential flood damage by acting early.
Clean the trap thoroughly and reinstall it correctly. Test the connection by running water slowly. Watch for leaks at the joints. If water appears under the sink, tighten the slip nut slightly.
If clogs persist after cleaning, the issue may lie deeper in the drain line. Use a drain snake to reach past the trap. For recurring blockages, consider installing a drain strainer or scheduling professional inspection.